Thursday, March 28, 2013

Getting Ready for Easter

In light of the beautiful weather I have been spending most of my days outside with the kids. We have been planting, pruning, trimming and digging.


It has been so fun to be out in the sunshine and blue skies. Today was a bit cloudy, it has been threatening rain all week, nothing yet.

I thought since Easter was just a few days away I would share some gift ideas and pictures of pretty flowers and blooms from around the yard to celebrate Spring and rebirth.

For gifts this year I am doing the traditional egg hunt but with almost no candy. I bought some really cute egg stuffers at the Dollar Tree and I think I have some dollar bills or quarters laying around somewhere (money really could just be pennies, neither kid really gets the value of money anyway hahaha!).
Here is a list of the things I purchased:

  • grow capsules - stick them in water, watch them grow
  • Easter erasers
  • Easter themed stickers
  • peanut M&M's - I just couldn't resist
  • dollar bills
I have to keep it gender neutral since I have a boy & girl.  Shopping for their baskets was a little tougher this year since I hate all that junky stuff. I decided to get them a few things they really enjoy; puzzles, books and crafts stuff. I also got some crazy straws because they love them with smoothies in the morning.

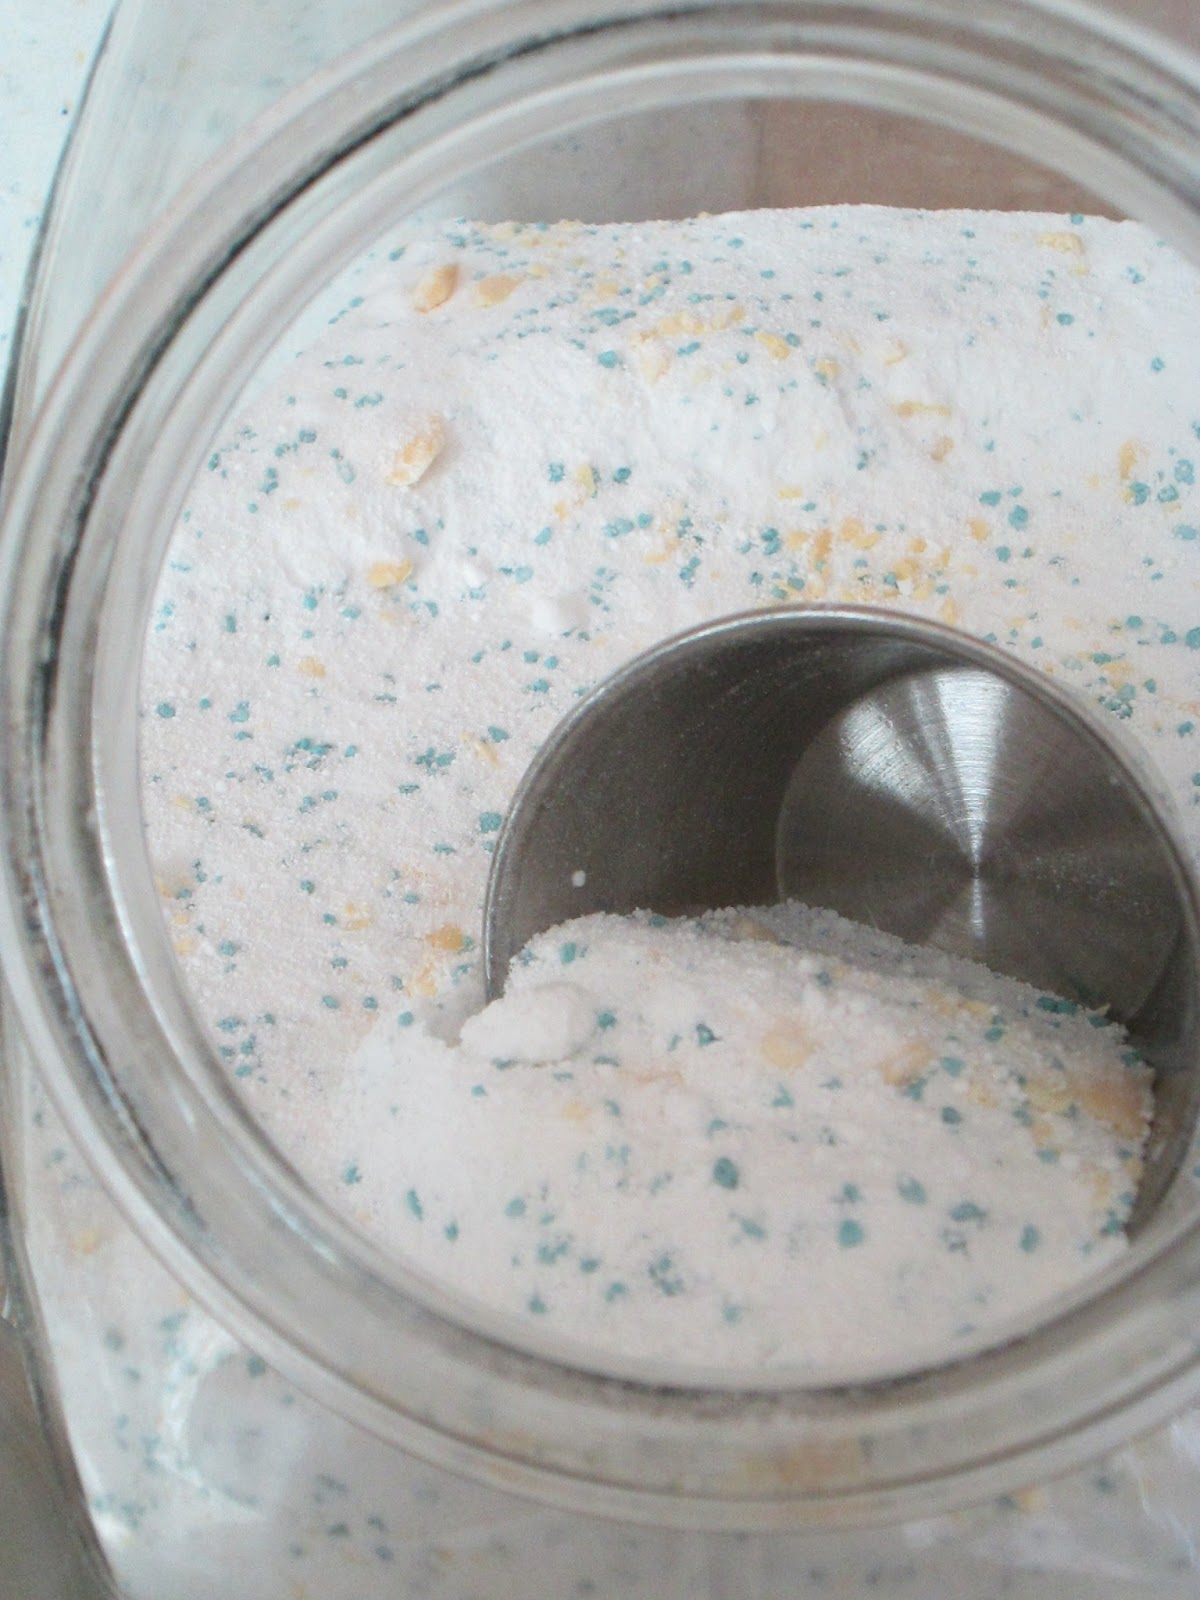
For the grandparent baskets I am giving I have included homemade laundry soap, snacks and artwork from the kids. Basic and useful. Package them beautifully and they will be well received.

Now for the flowers. I am not sure of all the types but I will try to identify what I can.
 A beautiful daffodil. The yard is filled with them just before spring.

 Pretty pink flower cluster (actual scientific name). The green foliage grows year round but in early spring it produces the pretty flowers.
 The blueberry busy growing buds, only three this year, better then last.
 Strawberries. I have three plants that I finally moved into the sun. Hope to get a berry or two.
 Vinca minor. Flowers are really simple and pretty. We use it as a ground cover and it grows everywhere.
 Our lovely fig tree. This year I might make jam.
 A climbing rose that grows around our bedroom window. Gives it a cottage feel.

Wednesday, March 27, 2013

Mud Pie Kitchen

While searching for some ideas on potting sheds and green houses, I came across a post about a mud pie kitchen.

Talk about cool. I am always in the garden and working in the yard so a place for my kids to play and create while I am busy puttering around was a great solution to "I'm bored, can we go inside?"

 I had an old cabinet that has been outside for about 4 years. When I picked it up the back fell off so I added a vent from an old washing machine. We added a spice rack and a small table. I also moved a lavender plant and a cutting of a large oregano plant so they have herbs to pick and "season" their mud pies.
 Here she is hard at work. This keeps both of them busy for hours. It is quite a mess when they are finished but it is SO worth it. If you noticed, I did replace the cheap plastic fence with a metal one. The cheap one kept falling over and looked cheap so when I was moving some flowers around in the yard I took the fence that surrounded them.
Some good mud there. The garden is on the other side of this fence. A great opportunity for them to make some great mud.
At least until the garden is planted!

Tuesday, March 26, 2013

Homemade All Purpose Cleaner

If you are looking for an all natural all purpose cleaner recipe, here it is. I found one similar on Pintrest a while back and decided to give it a try.
Not only does it disinfect and smell nice, it's cheap too. You can't beat that. It cost me a few minutes of my time mixing it together and that was it. I had the rest of the ingredients on hand.
 These are all the ingredients you will need and the finished product hanging out in the back. Most likely you already have them in your cupboards, so clean out a spray bottle and get to mixing.
You will have a cleaner, greener home in no time!
 Here is my recipe, I actually have 2 but I have found I prefer the first one. I don't know why, just do. One thing I did add was tea tree oil (a few drops) for scent and the antibacterial properties.

All my secret hippy recipes are hidden in this recipe binder. I inherited it from my sister when she passed a few years ago. I add all my homemade mixes, cleaners and food recipes to it. I do need to sit down and reorganize it and make it a bit fancier inside, but if the house caught fire I would grab this before the wedding pictures...hahaha!

So without further storytelling here is the recipe.

Ingredients

2 tsp baking soda
1/2 tsp Blue Dawn dish soap
4 Tbs white vinegar
400 ml water
a few drops of essential oil for scent

Directions

Mix all ingredients in a spray bottle. Shake before each use.

Monday, March 25, 2013

Kitchen Command Center

Last week I talked about the closet turned command center that is the main hub of most of the activity and paperwork.
I do, however, have a small, very basic command center in the kitchen. It consists of a bulletin board with a calendar.
The calendar is where I schedule what needs planting in the garden or green house, kids appointments, parties, activities. I tack coupons, reminders and other things I need to readily see on the cork board above. 

I have two frames that I painted hanging next to the cork board. The top one contains a housework schedule I printed off from Pintrest onto some scrapbook paper. The bottom one is just a framed piece of scrapbook paper, I write what's for dinner that night, a quote from a book,  a math problem or trivia question. It has been blank for a couple of weeks since I just seem to forget to find a pen to write something.

My trusty apron hangs there too. I never forget to put it on before cleaning the house or cooking a meal. That is another post altogether though.

I hope you all had a wonderful weekend. What projects have you been working on? Do you have a command center in the kitchen, if so leave a comment with your link. I would love to check it out!

Friday, March 22, 2013

Friday Photography

Fridays are a day of catch up before the weekend starts. So, to keep you coming back I will give you a glimpse of my life in pictures. Enjoy and have a wonderful weekend.

 A broken clock in the ivy. The ivy is growing around the clock creating a really interesting garden feature. I love it.
 The littles working in the garden collecting dirt to make some mud for there mud pie kitchen we built a few weeks ago.
We grow mutant clovers here at the Hippies Cancello micro farm. I found this 6 leaf clover a few days before St. Patrick's Day. Does is have extra luck because of the extra leaves?

Thursday, March 21, 2013

A Look Into My Garden - Starting From Seeds

To celebrate Spring, here is an early look into my garden and greenhouse.
I have planted around 52 tomatoes of various types of heirlooms and 18 basil plants of 2 varieties, sweet and lettuce leaf (in the picture below).
 In the tray below are several kinds of peppers, hot and mild, heirloom and standard. There is also 2 pots of thyme I am going to add around the herb bed when they get bigger.
The copper wire laid across the tops of the pots are to keep the snails away. I also wrapped the same wire around the legs after one of those slimy  things climbed in and helped itself to all of my cabbage seedlings.
 The bottom shelf has 6 more pots of the same varieties of basil as above. I will use them when I create my small herb gardens I will be selling at my at home farm stand.  The 3 little pots have cayenne pepper seeds.
 I planted these potatoes about a week early for my zone. This picture was taken last week. I went out to the garden today and the sprouts are double the size. I can't wait for home grown potatoes
 I transplanted the strawberries into a container and moved them into a sunny location. I hope to get strawberries this year.
 And lastly, my blueberry bush.
This little twig has been hanging on for about 2 years. It was passed on to me by my mother in law who didn't want it anymore.
It has given us one blueberry. I am also hoping it will produce a few more. I just have to learn how to grow blueberries in my zone. (I live in zone 8 Northern California if anyone has any tips on growing blueberries).
 There are several lavender plants, oregano, rosemary, garlic chives and my grape vine has started to bloom. My garden is starting to thrive and it makes my soul happy to be out in the yard playing in the dirt, especially when the kids can join me.

Happy Planting!

Wednesday, March 20, 2013

Re Purposed Light Fixture into Birdbath


In an attempt to get more birds into my yard I decided to make a birdbath.

I first started with a light fixture cover from a light we took out of the kitchen last year. My husband caulked the hole. I had an existing plant stand and I grow spider plants outdoors all year round so I had plenty of baby plants to transplant into a pot under the birdbath.
 After I cleaned the fixture I added pennies dated before 1982 since the word on Pintrest is that it will prevent the water from getting icky. This was a fun project for the kids, I had them dig through all the loose change and find the pennies.
 After that was finished I added some rocks for height and so they have a perch to stand on when getting water. This really isn't something I created for them to really bathe in since we do have a pond that they enjoy splashing in year round.
The spider plant needs some trimming and the trumpet vine above, that brings the hummingbirds all summer, has yet to bloom it is kind of plain, but this is just the beginning of Spring so in a few months our yard will look beautiful and the birds and bugs will be here in full force.

Happy Spring to you all.

Tuesday, March 19, 2013

Money Saving Homemade Laundry Soap

Now this recipe is, although homemade and money saving, is not all natural or organic. It is a lot better than the liquid stuff and safe on septic tanks than most commercially made detergents.
 It does make a lot and I made enough to fill a 1 gallon container and 2 half gallon containers for gifts. I also had some left that I stored in the leftover Oxyclean container.
 I originally found this recipe on How Does She. It is awesome. I did have to alter the recipe a bit since I couldn't find the Zote Soap and I prefer blue to pink so I used blue Purex Crystals. I ended up finding the containers at Walmart along with all the ingredients to make the soap. My husband figured it to be about $27.50 for the entire batch and if we used 2 tablespoons per load we would have enough for approximately 297 loads (he loves his math).  Enough for the entire year if I kept all of it, but I can't help but give some to friends and family.

Here is the recipe for the Homemade Laundry Soap.

Homemade Laundry Soap
Ingredients

  • 1 (4 lb 12 oz) Box of Borax
  • 1 (3 lb 7 oz) Box of Arm & Hammer Super Washing Soda
  • 1 (3 lb) Container of OxyClean
  • 2 Bars of Fels - Naptha soap
  • 1 (4 lb) Box of Arm & Hammer Baking Soda - I buy my baking soda at Costco in the 13 pound bags, so I measured out 4 pounds
  • I used one large container of Purex Crystals, blue color. I only used one because I don't really like heavily scented laundry. You could use more if you prefer. There are several scents to choose and Downey also makes a fabric enhancer. So choose your favorite for a custom scent.
Instructions

  1. Grate the soap with cheese grater or food processor. (I found that the smaller the grates the better the soap dissolved in the washer.
  2. Mix all ingredients together in a large bucket  or large plastic bag by shaking gently.
  3. Use 2 -4 Tablespoons per laundry load.

Monday, March 18, 2013

Creating a Command Center

Back in August 2012 I got a wild hair and decided that I desperately needed to redo the closet in the living room. As you can see in the picture it was a disaster. 


 It was stuffed with movies, office stuff, kids stuff, wrapping paper and gift bags. There was even a bar to hang coats, yet there just wasn't the room to do it. 
I came up with the idea to make it a command center. My oldest was going to start school the following year so I needed a place to hang backpacks and sweaters and I needed a place to hide the paperwork and bills when people came over.

 The process began with gutting the closet. We took out the shelves and the bar. We smooth walled all the walls then I painted it white. I took an IKEA Billy bookcase I had and put it in the back of the closet. We repurposed the coat hanging bar and the shelves that were in the old closet. We cut them to size and attached them to the wall and the bookcase. I organized the wrapping paper, gift bags and ribbons and stored them on the top shelf.

In the bookcase I keep lunch bags on the top shelf. Notebooks, pencils and stickers on the next shelf and the rest hold office supplies.

Here is the finished project.
 The empty shelf now holds my printer and the other shelf holds the kids games so they can reach them.

 I use the door of the Billy Bookcase as a giant white board. I keep reminders, messages, lists and notes to the family on it then wipe it off when done.

I spray painted a cork board black and added embellishments to make it pretty, then added some headers to keep track of bills to pay, appointments, and extra things like receipts that need to be posted or invitations to parties. I keep papers to file in the paper holder next to it and once a week I file them away. I also keep a small trash can in here for junk mail and things to shred.

There is also a double coat hook for each family member. They can keep their back packs and sweaters there, no mess on the floor.

It is great to have a command center where everything is kept organized.

Next week I will take you on a tour of the kitchen command center. It is very basic and very helpful for an "at a glance" organization.

Do yo have a command center or a special way you organized your families things, I would love to here from you. Leave me a comment with your link and I will check it out!
I might add a special post with the most unique or uber organized space!
Have a wonderful day.